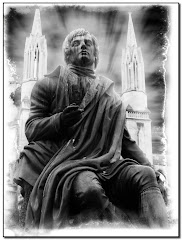
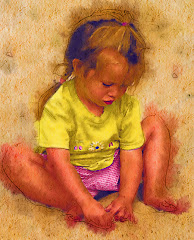
There's great history here -- and so many picture opportunities that choosing which one to go with first is a real challenge. Take that sweet-but-slightly-creepy girl in this picture. She's the highlight of the entire cemetary and you could spend hours trying to get the picture just right.
As I finished my work on this graphic, my wife pointed out that she (the creepy girl, not my wife) was on the cover of a "Ghost Tour" brochure. It is my wife's contention that this statue has probably been photographed thousands of times. Suddenly my carefully processed photo didn't look so good.
So today, let's take a look at several ways to take an apparently well known landmark and make it into an interesting picture. The basic pic is above. It's been cleaned up a little. The background, which is an office tower, has been blurred and darkened.
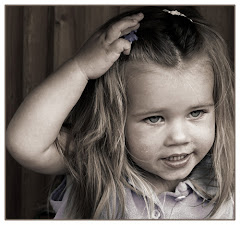
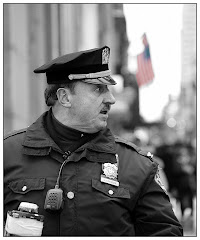
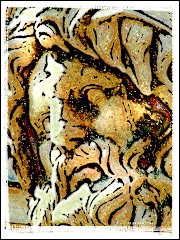
But it needs to have an antique treatment. For this you can use a combination of effects. Start off with Image> Adjustments> Black and White. The conversion in CS3 is vastly improved. (If you are a third party plug in junkie like me, you may want to use Alien Skin's Exposure.)

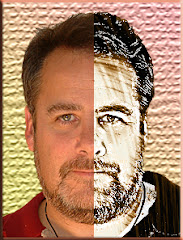
We need to create an really antiqued look. To do it quickly, I have used a combination of two effects. They are "Dreamy" from Auto FX's Dreamsuite series and Antique Photo from their Mystical Tint and Color collection. This results in a slightly blurred effect (hence the name "Dreamy") and the Antique Photo Collection injects a good combination of color and aging effects. You can achieve the same effect (with a little more work) using Filter> Blur> Lens Blur and Image> Adjustments> Photo Filter.
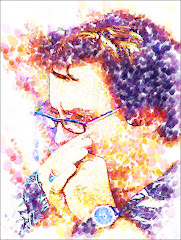
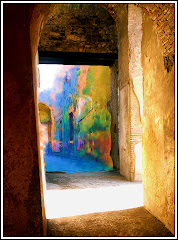
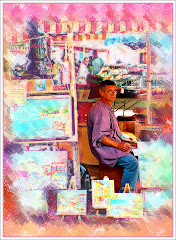
Here's an off the wall option. Transform the picture into a gothic looking painting. For this, you need to copy the layer so you can go a wee bit nuts with the photo. First, you can try doing some work with Filter> Brush Strokes.
However if you, like me, are counting down the seconds to the moment when you have to leave lovely New Orleans and go back to snow, try a short cut: Virtual Painter has an excellent vastly adjustable Gothic Oil Painting option. You'll wind up with something like this.

There are a ton of other ways the image can be transformed: try adding light and colors with Knoll's Light Factory, try Mosaic Tiles inside Filter> Textures> Mosaic Tiles or some of the other options.
The real key is to take a long hard look at your graphic and try to think of how it makes you feel, and how you want your viewer to feel when they look at it.
The final step is to figure out how exactly to communicate that concept to your viewer.
We go step by step through the image editing steps in our courses. But the intent of this blog is simply to show a couple of ideas for creating better images than they have on the Haunted Tours Brochure in New Orleans.