 They are the big three: Photoshop, Photography and PowerPoint. Think about it for a second: you shoot raw with your camera, you make it into art with Photoshop and then you display image after image with PowerPoint.
Feeling a little wild? Add music. You can go completely nuts and even insert transitions and custom animation to create the kind of travel album "slide show" that won't leave your guests clawing at the door trying to escape.
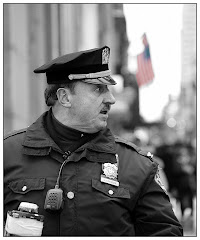
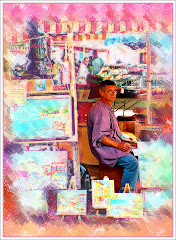
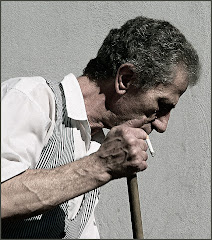
I've posted a lot of articles here about how to get the travel shots you want -- which pretty much deals with the "Photography" aspect. It goes without saying that you need to take good pictures to give yourself the "material" you need. To summarize the high points about travel photography:
1) You need to examine your camera bag, ensure you have charged batteries and back up batteries, memory cards, different lenses and gear that will enable you to shoot despite the weather.
2) You need to be absolutely "present" as you travel. Always look for the picture that tells a story or conveys a sentiment or emotion.
3) You need to be organized.
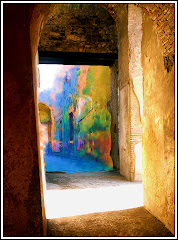
Photoshop treatments have also been covered extensively here. There are a ton of ways you can improve a picture. The one quick point I will make here is that you should reduce the resolution to 72 (Image> Image Size> Resolution) if you're prepping photos for a PowerPoint presentation.
You will be displaying them in a monitor or through a projector. Bigger resolution isn't necessary and will make the images harder for PowerPoint to handle. You run the risk of jerky looking movements of images of you load them down with too much unnecessary visual data.
PowerPoint is the thing many photographers don't know much about. And this is a great pity, because it's a program ideally suited to displaying your work to the heartfelt "oooohs" and "ahhhhs" of your adoring audience.
It's easy to use and most people have one version or another on their computers.
To INSERT an image onto a PowerPoint slide, go to Insert> Picture. At this point you decide where your pic is coming from...most likely it's your "File" -- which means you plan to take it off of your computer.
By default, PowerPoint will insert the picture in the precise center of the screen.
Add New Slides (Insert> New Slide) for each new slide. (If you've created a background as I did in the example above, you may do well to COPY the slide and insert a new picture on the existing background.)
You may also want to consider bringing in each new picture with an animation. (Slide Show> Custom Animation) I have yet to find a better method for introducing pictures than "Fade." It's elegant, doesn't get in the way of your graphic and adds a touch of class to your presentation.
To make the slide show run on it's own, you will need to use a nifty little tool called "Rehearse Timings." (Slide Show> Rehearse Timings) As you advance through the pictures by pressing the space bar, your Rehearse Timings will remember the way you did it. If, at the end, you are happy with the slide show simply accept the option that allows you to "Save" your settings.
Unless it's a really complex image, I will leave each image on-screen for seven or eight seconds. A timer appears in the upper left hand corner of the screen which gives you both the time for each slide AND the time for the overall presentation.
Finally, you may want to "Save As" a "PowerPoint Show." This means the instant you click on the nifty little icon, the PowerPoint starts and runs itself -- leaving you free to talk about the pictures your adoring audience is enjoying.


No comments:
Post a Comment