 I suppose it was inevitable: as tech gets better and better that digital artists would want, one day, to make new stuff look like old stuff.
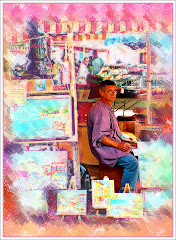
The photo to the left is a theater somewhere in rural Montana. It's a bright and vibrant building with colorful signage.
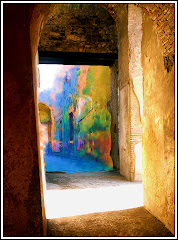
But, like so many things (including me) it seemed out of place, like it had been lifted out of another decade by some giant with a sense of humor and plunked down here.
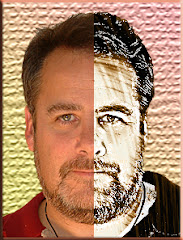
This image was aged in under three minutes using some plug-ins and Photoshop tech. Here, in broad strokes, is how the image was created:
1) CONVERT IT TO BLACK AND WHITE. CS4 has a fabulous Adjustment Layer for this purpose. You want the B&W image to be sharp, so don't be afraid to us the Smart Sharpen tool from the Filters Menu.
2) Put the image into Sepia using any of a number of options. The fastest way to get a pleasing sepia tone is to go with Image> Adjustments> Photo Filter> Sepia. There's a live preview so you can get the precise amount of Speia you're after.
3) The edges were burned using a great little utility called (understandably enough) "Burnt Edges" from Alien Skin's Xenoflex 2 filter set.
4) The final effect, that pleasing little acid wash, was done with OnOne's Photo Frame Pro. (Which is NOT compatible with CS4 without an upgrade, by the way.)
The great thing, the REALLY great thing, about Plug-ins, is that if you take the time to learn them, they can save you TONS of time and still give you the exact effect you were after.

This shot of the Sydney Opera House was taken from a balcony on a cruise ship. Sheree and I (and about three thousand other people) were docked beside it. Frankly, it was a little disappointing. It was dirty and tired looking and I stood there, snapping shots and wondering if I would get any kind of worthwhile image out of it.
This effect was completed in about three minutes as well.
1) Convert to Black and White with CS4's B&W Adjustment Layer.
2) Use the Rectangular Marquee Tool to define a square and COPY that square onto it's own layer (PC: Control J).
3) Create a Stroke around this slightly smaller layer with the Layer Style options menu (That odd "fx" symbol at the bottom your Layers pallette) and choose a nice dark border (maybe 3 points). I like to add a Drop Shadow from the same menu as well...but that's just showing off.
4) Older Photographs had grain. I took a short cut and added the grain with Alien Skin's Exposure 2 package.
5) I manually added the Vignetting effect around the border of the image using the Burn Tool from the Toolbox.
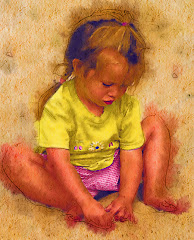
It's always interesting to take a modern image: a race car, a space ship etc. and age the photo, so it looks like it was taken with a very old style camera. This creates a visual that makes an impact on the viewer because the visual style and the image portrayed don't match.
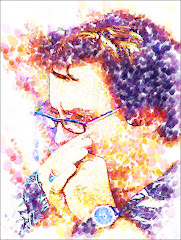
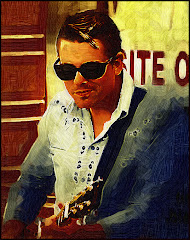
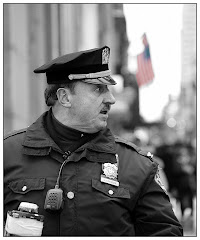
The effect can be very powerful. Try using in on a portrait. Add some bokeh. Use layers to create sepia and lens barrel effects. Blend the layers. Play around (oops I mean "investigate") the various blending options as you try one layer on top of another.
Have fun! If you come up with anything really cool, feel free to send it to me. I'd love to see it.


No comments:
Post a Comment